How to setup Angular and Firebase (AngularFire)
Before we begin we must have a valid Firebase project setup. So head over to Firebase console and click the add new project button.
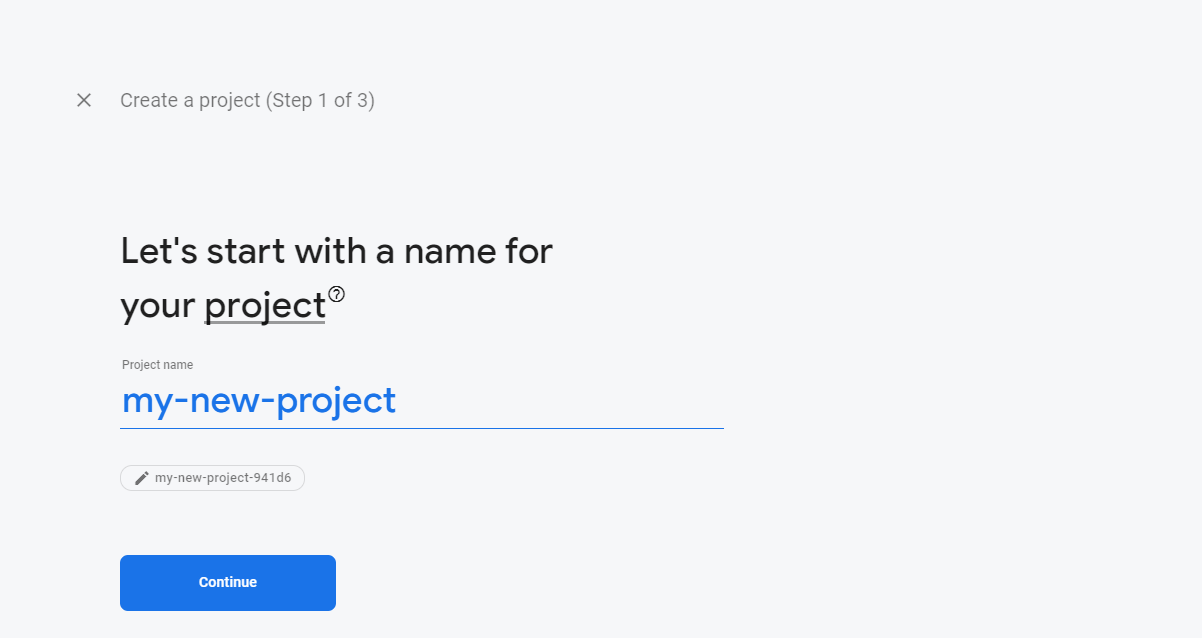
From there you’ll be asked to provide a name for your project
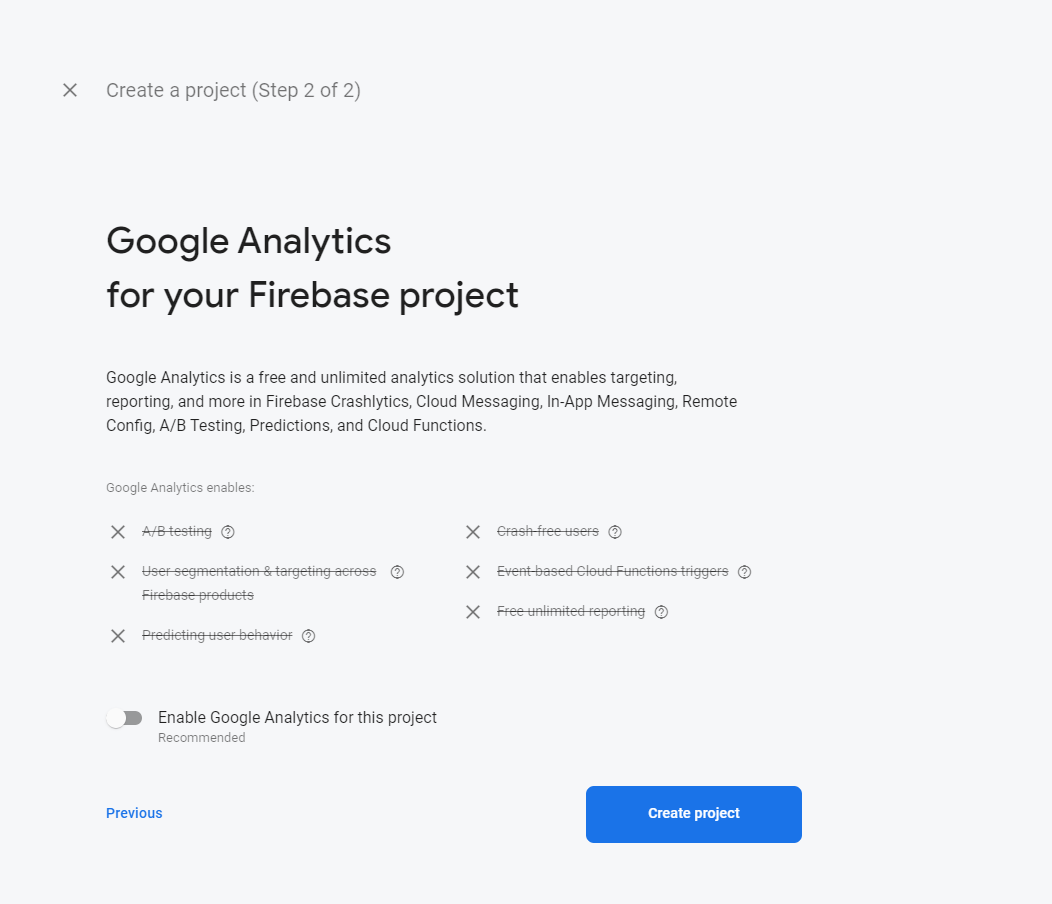
And lastly you’ll be asked to include Analytics in your project. This is a useful tool to have but for now we’re going to toggle analytics off (don’t worry you can always add them later).
Now just click the create project button and wait for Firebase to setup your project. Next we need to select a platform to get started. If this is your first time adding a firebase app you should see an option like this </> in the add an app to get started section. But if not, you can always go to ⚙️ -> project settings and than in the General tab scroll down to Your apps. There you can just click the a platform that you want firebase to be added to, which in our case will be a web-app. Next we need to register our app and for that we can give it a nickname “The app nickname will be used throughout the Firebase console to represent this app”. Then just click the register button. After this you should see an SDK setup and configuration snippet (reference image below).
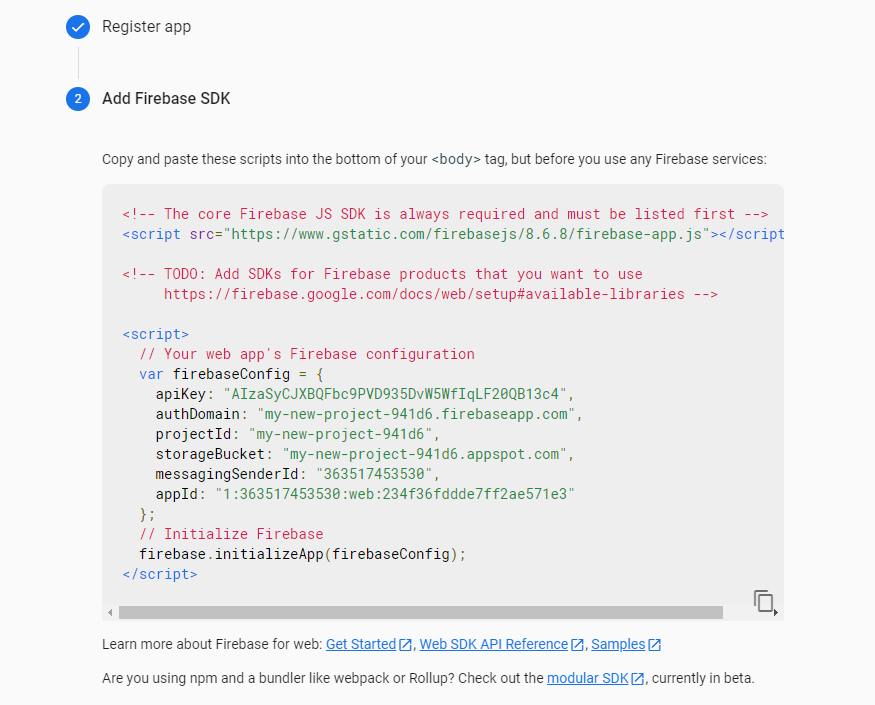
To set this up with our Angular application we need to take note of the firebaseConfig variable.
Next in our Angular application we’ll add the AngularFire library. This library “aims to provide a more natural developer experience by conforming to Angular conventions.”
To add this library to our project we need to run:
1 | ng add @angular/fire |
Once added, head over to your environment folder and open up environment.ts file. Inside create a firebaseConfig property and add the firebaseConfig contents.
1 | export const environment = { |
Obviously replace these contents with your firebase configuration.
You can do the same for environment.prod.ts file. But in an ideal world you would have two separate apps, one for development and one for production.
Lastly we can import AngularFireModule in our app.module.ts file and initialize it with our firebase config.
1 | import { NgModule } from '@angular/core'; |
If you are curious about how Angular switches between our dev and production environment check out angular.json and take a look at fileReplacements.
And that’s all for the setup. Now you can just import the modules that you need from the library for example the AngularFirestoreModule (in your app.module.ts) and use it in our components.
1 | import { AngularFirestore } from '@angular/fire/firestore'; |